WhatsApp is a top-rated app when it comes to connecting with your friends and family. Thanks to this app that no distance seems vast when it comes to connecting to your loved ones. WhatsApp has taken the social media network by storm with back to back inventions. From voice calls to video calls and from inbuilt stickers to personalized WhatsApp stickers in iOS or Android, it has got everything.

WhatsApp has finally launched its option of personalized stickers, and it is available on both Android and iOS platforms. WhatsApp’s native sticker gallery is somewhat limited as of now, but they are encouraging new and independent developers to contribute to their collection.
Here in this article you will learn the process on how you can personalize and customize your own WhatsApp stickers using your iPhone or iPad.
Step 1: Select the Images to Create WhatsApp Stickers
Before we move further into creating your own WhatsApp stickers, you need to select the images first. WhatsApp has its requirements which a user is supposed to meet to create their own stickers. The created sticker is basically an image with a transparent background. Stickers must exactly be 512×512 pixels. And lastly, each sticker should be of 100 kb.
Once you know the basic requirements, you then need to know the working procedure. First, select the images you want to make a sticker of. Select at least 3 images for better functioning. Now you can either use the inbuilt feature of the sticker maker app to remove the background or you can use the online tool known as remove .bg to remove the background of your selected images.
Step 2: Remove the Image Background
Open the remove.bg tool and choose to browse. After that, choose the images you want to remove the background of. Select one image at a time, and using the AI technology, the background of the uploaded image will be removed automatically absolutely for free. Once the background is removed, save your image to the phone.
Step 3: Download Sticker Maker App
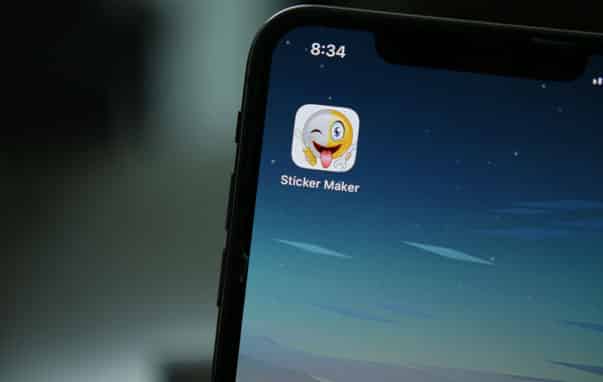
Once you have the transferred images on your phone, go to App store and search for Sticker Maker for WhatsApp. You see an emoji icon saying Sticker Maker for WhatsApp. Download the application.

Step 4: Creating Stickers
When you download the sticker maker application from Appstore, open the app and then click on “tap to start.” Once it opens, you have three options which are “explore,” “create,” and “settings.”
You can use the existing stickers, which you can find on the explore tab. To create a new sticker, click on the “create” option and tap on the “+” icon at the top. Now provide the sticker pack name and the publisher’s name. Enter whatever you like in these fields.

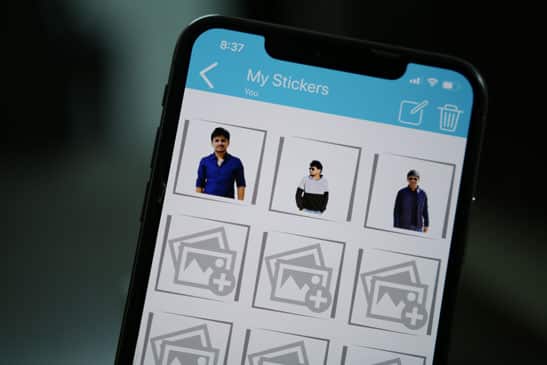
Once you complete the steps that were mentioned above, you will see a new page with empty frames. Click on the first slot and choose the no background image for creating your sticker. Once you see the image in the work area, you can add frame or effects to your image.
At this point, you can also resize, rotate, crop, and add an emoji or text to your image then click on the “√ (confirm)” icon, and save your image. Do this with the other images as well.
Step 5: Uploading in WhatsApp
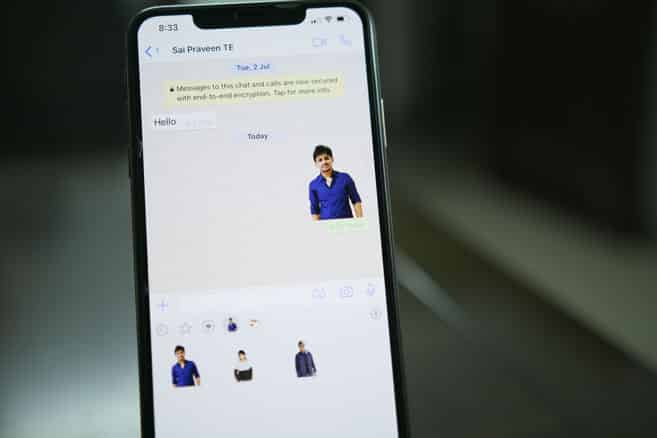
Once all of these are done, choose “add to WhatsApp” and then “save”. After this open WhatsApp on your iPhone or iPad and choose any contact with whom you wish to share your WhatsApp stickers. Once the chat box opens, click on the sticker option, and there you see all your created stickers. Choose the sticker that you would like to share and voila! Your own personalized sticker is shared with your contact. You can also share the entire pack. Just option the sticker maker app and then click on “share pack.” Then select WhatsApp as the service via which you want to share your stickers, and you are done.
That was all about creating and sharing your own personalized stickers on WhatsApp using your iPhone or iPad.

