WiFi Protected Setup (WPS) is a wireless security standard that aims to simplify connecting devices to a wireless network. It allows users to connect devices to a NETGEAR router without manually entering a WiFi password. This article provides an overview of WPS and step-by-step instructions for using the WPS button on NETGEAR routers.
In this page
What is WiFi Protected Setup (WPS)?
WiFi Protected Setup (WPS) is an industry standard created by the Wi-Fi Alliance to enable easy and secure connections between wireless devices. WPS aims to simplify the setup process for home wireless networks by allowing users to quickly add new devices without manually entering a WiFi password.
Most modern NETGEAR routers, including popular models like NETGEAR Nighthawk routers, support WPS. WPS is enabled by default in NETGEAR router firmware.
How WPS Works on NETGEAR Routers?
NETGEAR routers implement WPS through two main methods:
- Push Button: Users press a dedicated WPS button on both the router and client device to initiate the connection process
- PIN Entry: Users enter a PIN displayed on the client device into the router’s configuration menu to connect
Whichever method is used, WPS allows the devices to securely exchange wireless encryption keys to establish a connection. Modern NETGEAR routers use the latest WPA2 wireless security protocol to encrypt WPS connections.
Connecting Devices to a NETGEAR Router Using WPS Button
Follow these steps to use the push button method to connect devices to your NETGEAR router via WPS:
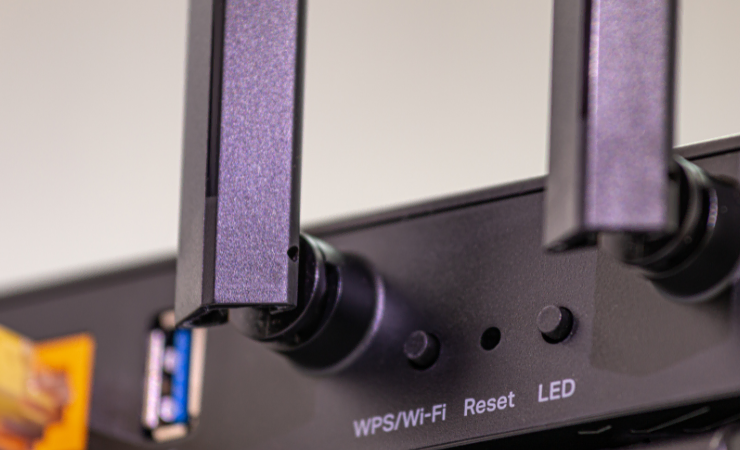
- Locate the WPS button on your NETGEAR router. This is usually on the rear panel or side of the router marked with the WPS logo. Consult your router’s manual for the exact location if unsure.
- Put the client device (e.g., printer or camera) you want to connect into WPS pairing mode. Refer to its manual for instructions. Often, there is a WPS button or menu option.
- Press and hold the WPS button on your NETGEAR router for 3-5 seconds. The adjacent WPS LED should light up.
- Within 2 minutes, the client device should automatically connect to your router’s WiFi network using WPS.
If your device doesn’t have a physical WPS button, you can use the PIN entry method instead:
- Log into your NETGEAR router admin interface
- Navigate to the WPS settings page
- Enter the 8-digit WPS PIN displayed on your client’s device.
- Click the Connect or similarly named button
- Wait for your device to connect automatically
Also, you can use WPS to connect a NETGEAR router as a Wi-Fi repeater or extender.
Troubleshooting Common WPS Issues
Here are some troubleshooting tips for common WPS connection issues:
| Issue | Cause | Solution |
| WPS light off or flashing unexpectedly | WPS disabled in router settings | – Verify client WPS support – Put the client in pairing mode – Move the client closer to the router |
| “Cannot Connect” error after pressing the WPS button | – Check if WPS is enabled – Restart the WPS process | – Verify client WPS support – Put the client in pairing mode – Move the client closer to a router |
Security Considerations with WPS
While WPS aims to offer secure wireless connections, there are some security considerations to keep in mind:
- The PIN method has potential vulnerabilities if an attacker can guess the 8-digit PIN
- Using random PINs instead of default PINs enhances security
- WPS connections are still encrypted with WPA2 like other WiFi connections
- The main risk is unauthorized access if someone gains physical access by pressing the WPS button on your router
Based on your specific security needs, you may want to disable WPS if the risks outweigh the convenience benefits. This is configured in your router firmware settings.
The WiFi Protected Setup (WPS) feature on NETGEAR routers provides an easy way to connect devices to your WiFi network without manually entering a password. You can simplify connecting wireless printers, cameras, smartphones, and more by following the steps above to use the WPS button. Just be aware of potential security tradeoffs with WPS when enabling it.