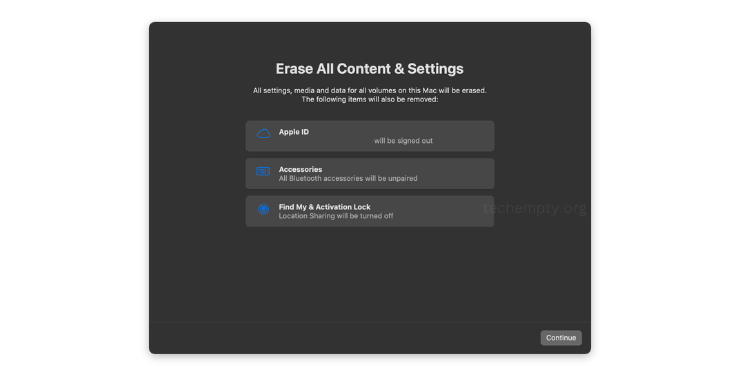
Running into the “Erase Assistant is not supported on this Mac” error while attempting to reset your Mac through the Erase All Content and Settings feature is frustrating. The issue usually happens in older Macs without Apple silicon or the Apple T2 Security Chip. As of June 2025, Erase Assistant is available only on Macs with those chips and macOS Monterey, Ventura, Sonoma, or later. If your Mac isn’t eligible, don’t worry—there are still safe and effective ways to erase your Mac manually.
Key Takeaways:
- Erase Assistant is only available on Macs with Apple silicon or a T2 chip that have macOS Monterey, Ventura, Sonoma, or later.
- The “Erase Assistant not supported” screen appears if these are not met.
- Use Recovery Mode and Disk Utility to erase unsupported Macs.
- Sign out of services and unpair devices before selling or donating older Macs.

Why Do You See “Erase Assistant is not supported on this Mac”?
“Erase Assistant” error most often occurs due to:
- You are running an older macOS version than Monterey
- You are running an Apple silicon (M1, M2, or later)-unsupported Mac model or the Apple T2 Security Chip
- You are trying to erase some unsupported models, such as the 2017 15″ MacBook Pro, which cannot support this feature
- Random software bugs even in supported hardware
This is not a hardware failure but a compatibility issue. One can try going to the newest supported version of macOS or experimenting with other erase options.

Verify Whether Your Mac Is Supported by Erase Assistant
To check whether your Mac is supported by Erase Assistant:
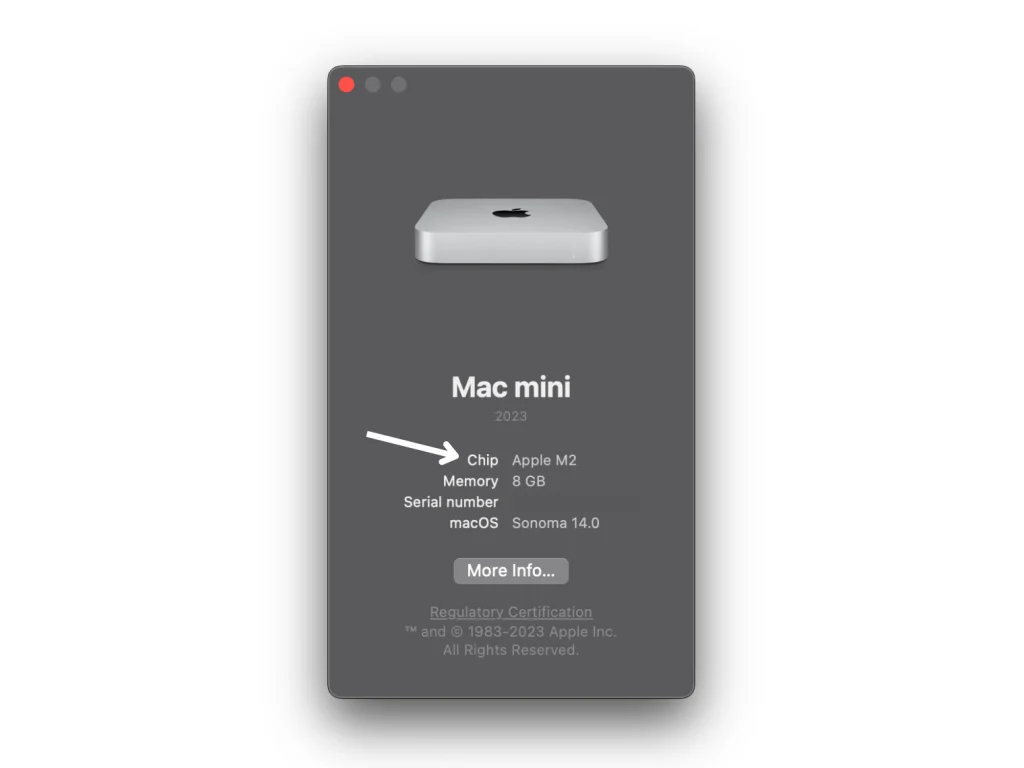
- Click the top left Apple Logo and then go to About This Mac
- Look for “Apple silicon” or “Apple T2 Security Chip” under hardware overview
- Make sure your Mac is on macOS Monterey (12.x), Ventura (13.x), Sonoma (14.x), or later
Supported models (as of June 2025):
- 2017 or later MacBook Pro, MacBook Air
- 2018 or later iMac, iMac Pro
- 2018 or newer Mac mini
If your Mac doesn’t meet these criteria, you’ll likely see the “Erase Assistant is not supported on this Mac” error.

How to Wipe a Mac Without Erase Assistant?
If you get this error at any point of time, you can safely wipe your Mac through Recovery Mode and Disk Utility:
- Restart your Mac and hold down Command + R to boot in Recovery Mode
- Launch Disk Utility and choose your startup disk (usually “Macintosh HD”)
- Click Erase at the top of the toolbar, choose the format as APFS or Mac OS Extended (Journaled)
- (Optional) Rename the volume and choose Erase Volume Group
- Close Disk Utility and select Reinstall macOS to install a new system
This method erases all content safely and gets your Mac ready for a new user.
Getting Your Mac Ready to Sell Without Erase Assistant
Before selling or donating an older Mac:
- Sign out of iCloud, iTunes, iMessage, and other cloud services
- Unpair everything from Bluetooth devices and remove the Mac from your list of trusted devices
- Back up important data with Time Machine or a third-party service
- Repeat the steps above to erase the startup disk and reinstall macOS
This eliminates all personal information from being seen.
Troubleshooting Tips
If you can’t wipe your Mac:
- Ensure you’re on macOS Big Sur (11.x) or later
- Experiment with other key combinations such as Option-Command-R to boot into Internet Recovery
- On Apple silicon Macs, resort to falling back to Recovery OS if the initial Recovery fails
- If all else fails, reach out to Apple Support or get it repaired at an authorized service facility
Common Solutions and Shared Experiences
Various users of forums such as on Reddit and Apple Support Communities have shared the “erase assistant not supported on this mac” issue. Some common solutions among them are:
- Maintaining your Mac up to date to a compatible version of macOS
- Utilizing Recovery Mode and Disk Utility as an assured temporary fix
- Periodic backup of data in a way so that it is not lost due to manual erasures
- Utilizing Apple Support for common or uncommon issues
If you look for something like “erase assistant not supported on this mac reddit” or “erase assistant not working,” you will find common experience and solutions similar to the steps mentioned above.
Frequently Asked Questions
Erase Assistant is not supported on this Mac
Caused by missing Apple silicon/T2 chip or outdated macOS
How to Get Erase Essistant on MAC?
Upgrade to Monterey or later and use a compatible Mac
The “Erase Assistant is not supported on this Mac” warning means that your Mac doesn’t have the hardware or software to properly use Apple’s simplified erase process. But booting into Recovery Mode and using Disk Utility is still a safe and effective method to erase your Mac, even in 2025. Always back up your files and use the step-by-step methods above to reset safely.

